
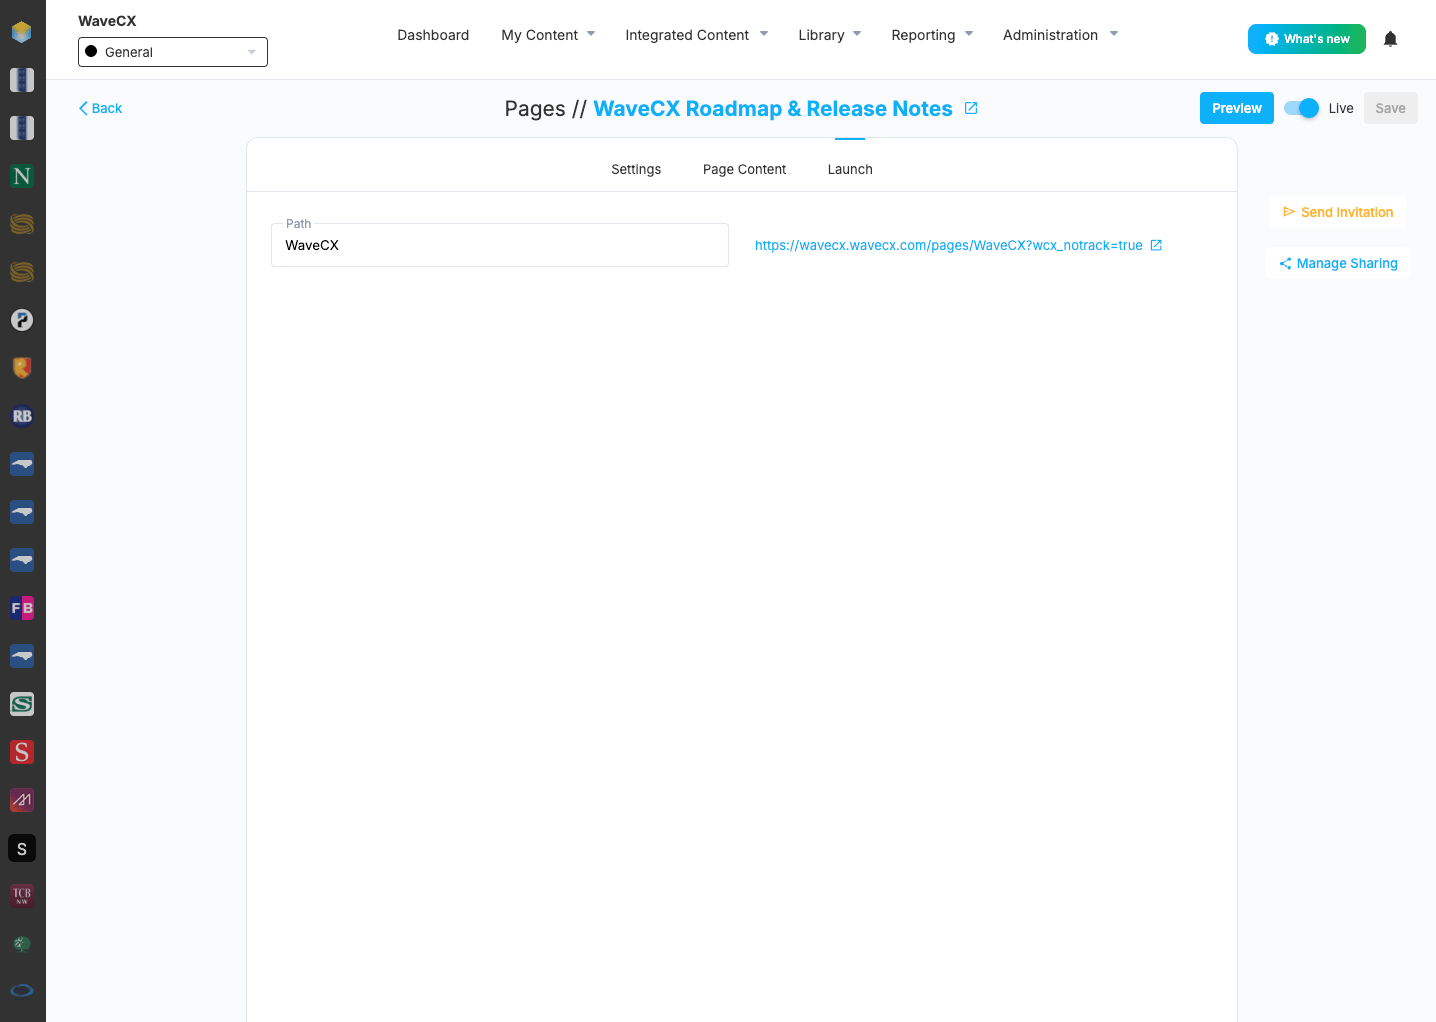
Launch
The Launch tab is where you set your Page’s web address and share the Page with others. Here, you can generate a link to share the demo or send invitations via Email or SMS. The toggle on the right enables you to make the page live, ensuring it is accessible to the intended audience.Where to find it
Open the Page and click the Launch tab at the top of the editor, next to Settings and Page Content.Path
The Path field sets the last part of your Page’s web address. For example, a Path ofWaveCX gives the address:
https://wavecx.wavecx.com/pages/WaveCX
- The full address appears to the right of the Path field and updates as you type.
- Click the address, or the open icon next to it, to open the Page in a new browser tab.
- Pick a short, readable Path with no spaces. If you change the Path after sharing the Page, links that use the old address may stop working.
Send Invitation
Click Send Invitation to send people a link to the Page by email, by text message (SMS), or both. Choose how to send At the top of the window are two toggles, Email and SMS. Turn on each method you want to use. Email- Email Address: enter the address of the person you’re inviting.
- Subject: enter the email’s subject line.
- Message: write the email body, for example a short note on what the Page is and why they should look at it.
- Phone Number: enter a mobile number that can receive text messages.
- Message: write the text message. Keep it short.
Manage Sharing
Click Manage Sharing to share this Page with another account and choose what they can change. A Configure Shared Content window opens. Choose what the receiver can edit Under Select which parts of your shared content you’ll allow to be edited by the receiver, there are two toggles:- Hero: when on, the receiver can edit the Page Hero, the banner at the top of the Page.
- Footer: when on, the receiver can edit the Footer.
- Click Next to go on to the next step.
- Click Cancel to close the window without sharing anything.